Learn how to make a chicken waterer in under 20 minutes. This project is very affordable and is easy to complete at any skill level.
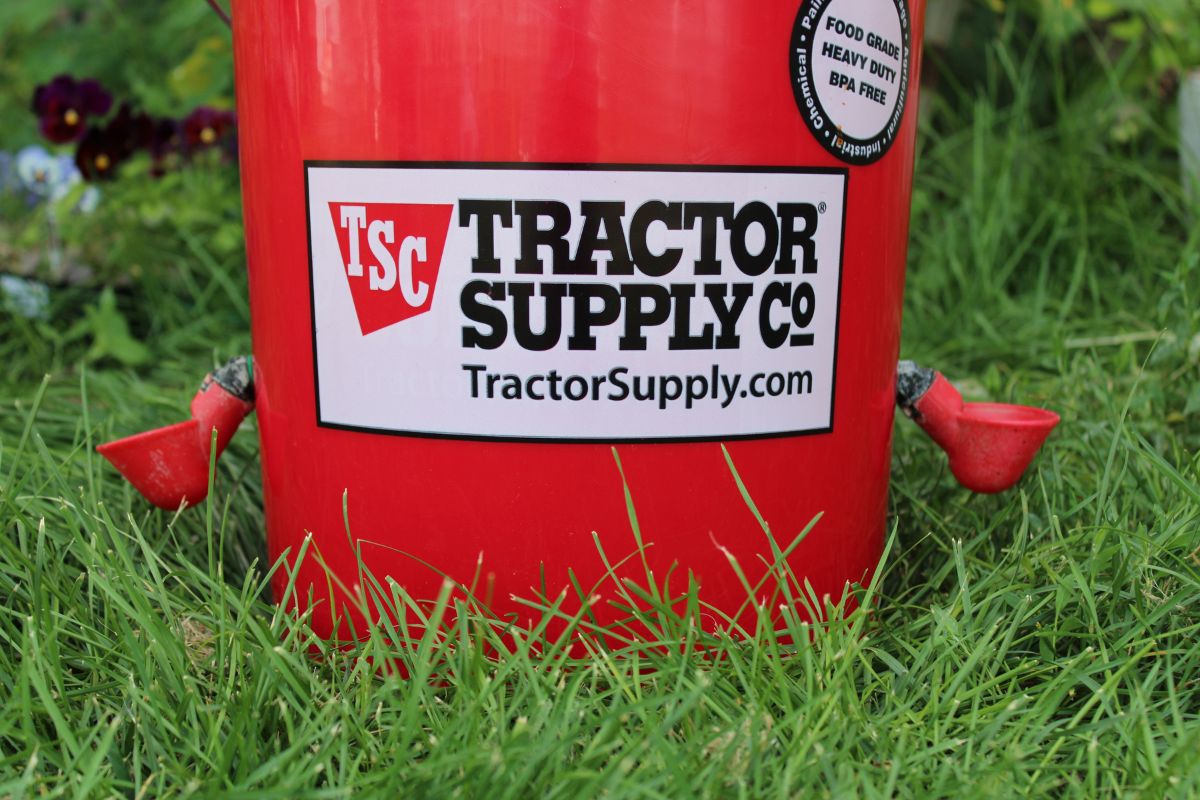
I always have a couple of DIY chicken bucket waterers around my barn. My birds know to look for the red buckets when they’re thirsty.
It is important that your chickens have more than enough water at all times, but especially during the hot summer months. By placing multiples in the area, I don’t have to worry if one gets tipped over because one of my tom turkeys decides to sit on the edge of it, or if something happens and one begins to leak.
DIY Chicken Bucket Waterer
4 Things I Love About DIY Projects
- The money that I save! The cost of making a chicken bucket waterer versus purchasing a premade waterer is a big difference!
- This project is very easy! As long as you can run a tape measure and a drill, you can make this project.
- These are all supplies that I can find locally in my small town.
- This is a project with reusable parts. With this particular project, the old bucket I was using to water my chickens had lost its handle. I reused the old bucket and repurposed it to haul around in my wagon for filling with weeds. I then, reused the lid and drinking cups to make this new waterer.
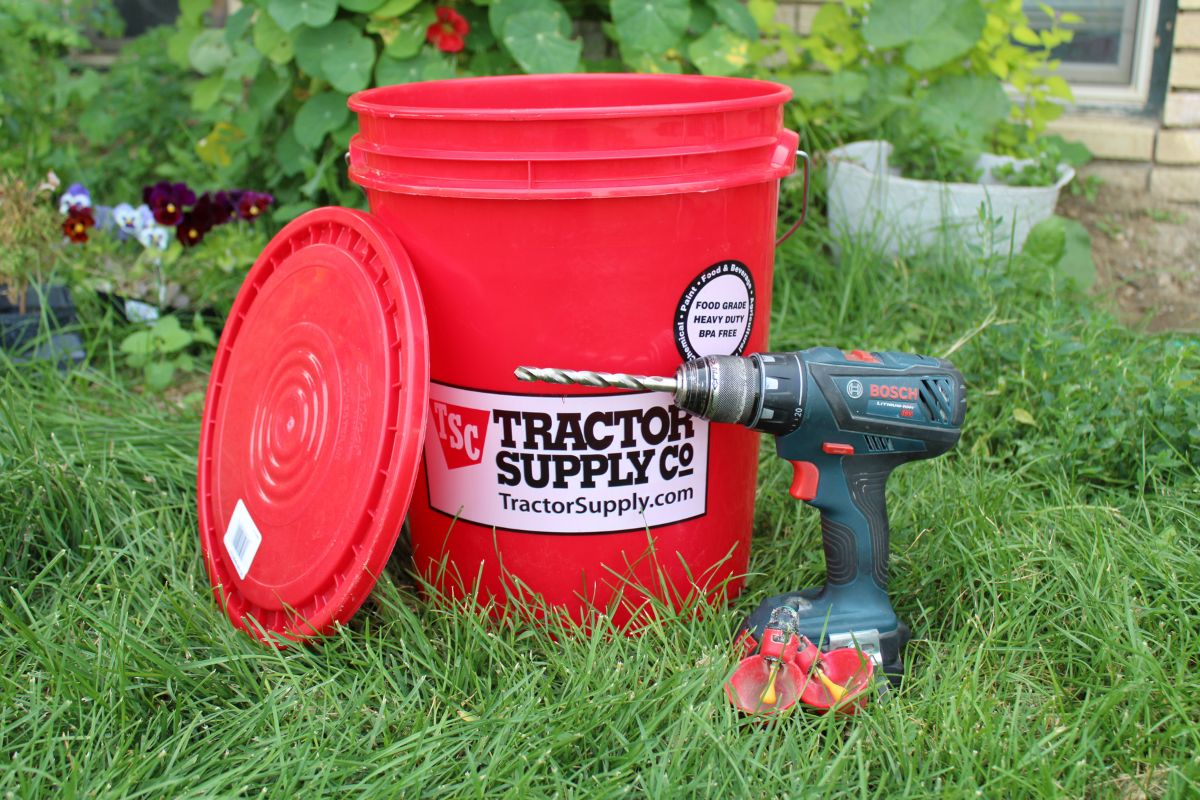
Supplies Needed
For a small price, you can easily make a chicken bucket waterer in about 20 minutes. Here are the supplies that you will need to complete this project.
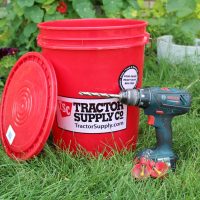
- 5-gallon Bucket – I prefer to use food safe buckets for my animals as well as in my pantry. These are the food grade buckets I use for both. I like to use the red buckets for my animals and the white buckets inside of my pantry. I even store my indoor dogs and cats’ food in red buckets inside of my house.
- A Bucket Lid – I use these lids for my animals. A red lid gets put onto my red animal buckets. For my dogs and cats’ food in the house and all of my pantry staples, I choose to use a spinning bucket lid like this one, which seals well, so it never gets moisture or pests inside.
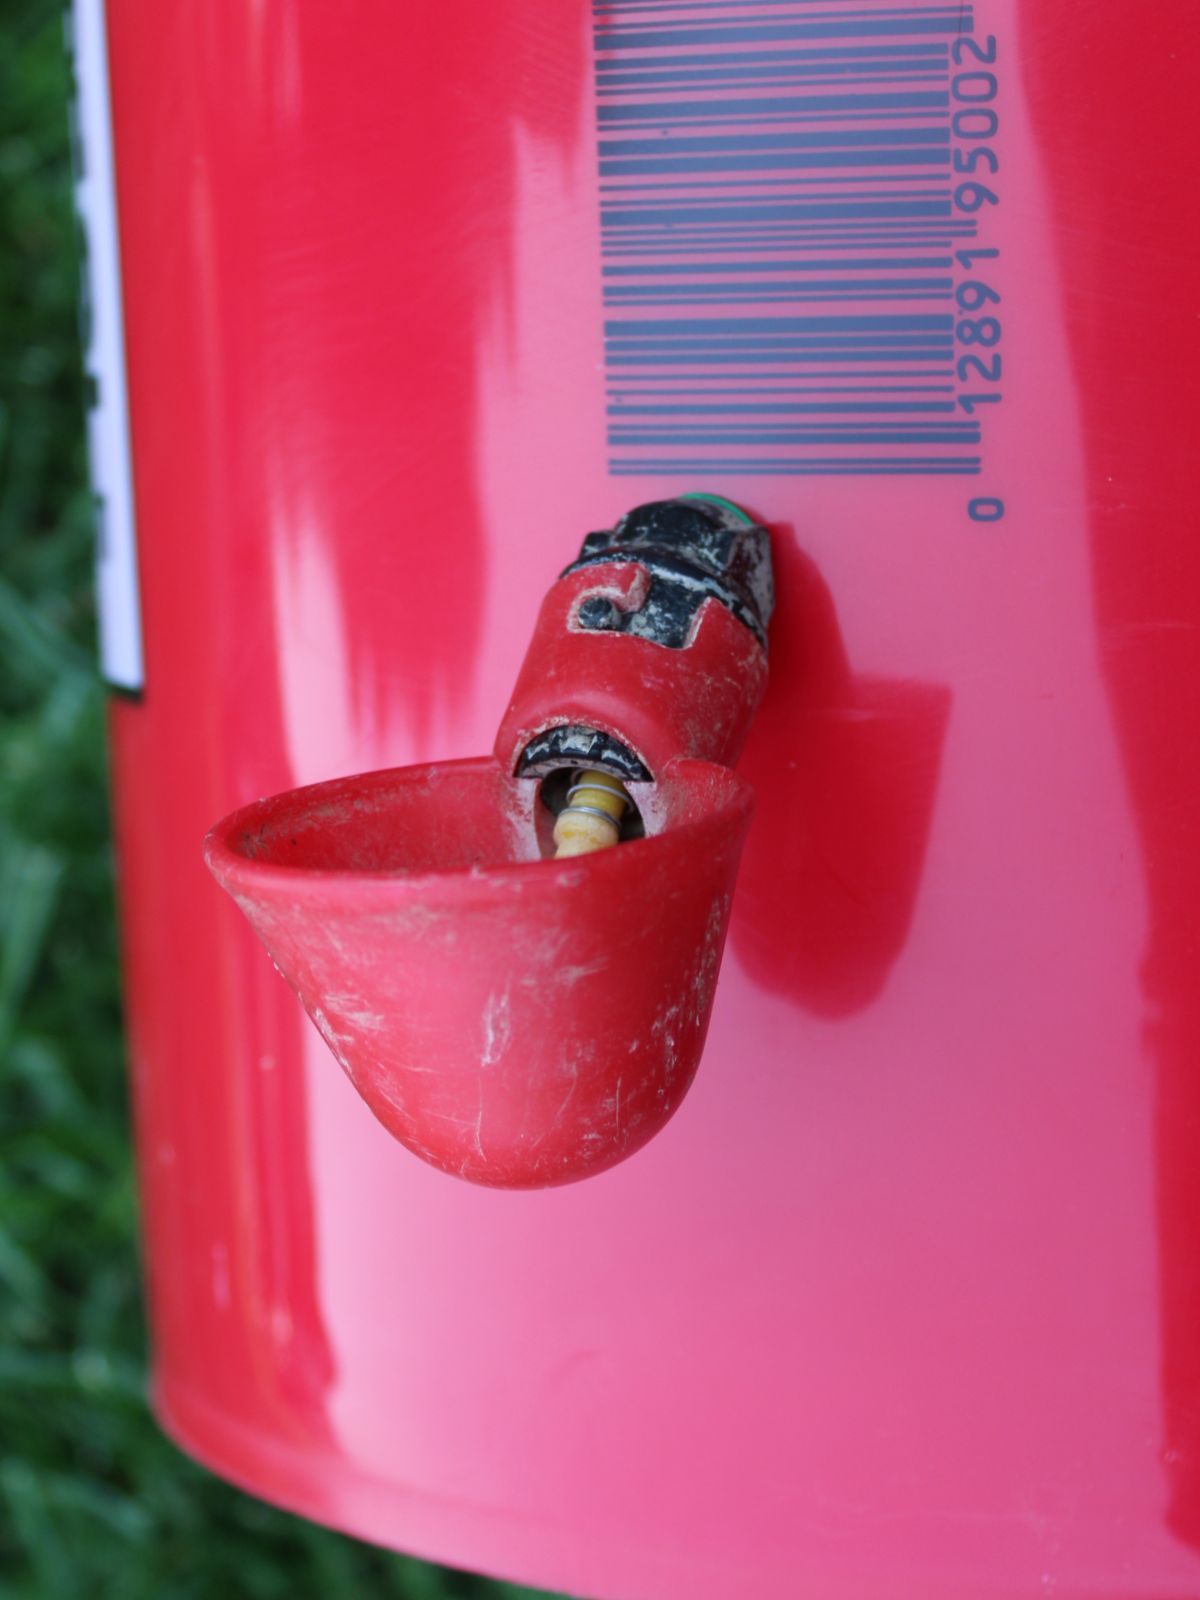
- 2 Poultry Watering Cups – I love these cups. They have a nipple that releases water when the chickens drink. They have held up well, they don’t leak, and if your bucket breaks, you can attach them to a new bucket. These can also be mounted onto a 55-gallon drum or used as a PVC watering system.
- Drill – We love our drill. The batteries hold up very well and have recharged wonderfully for many years.
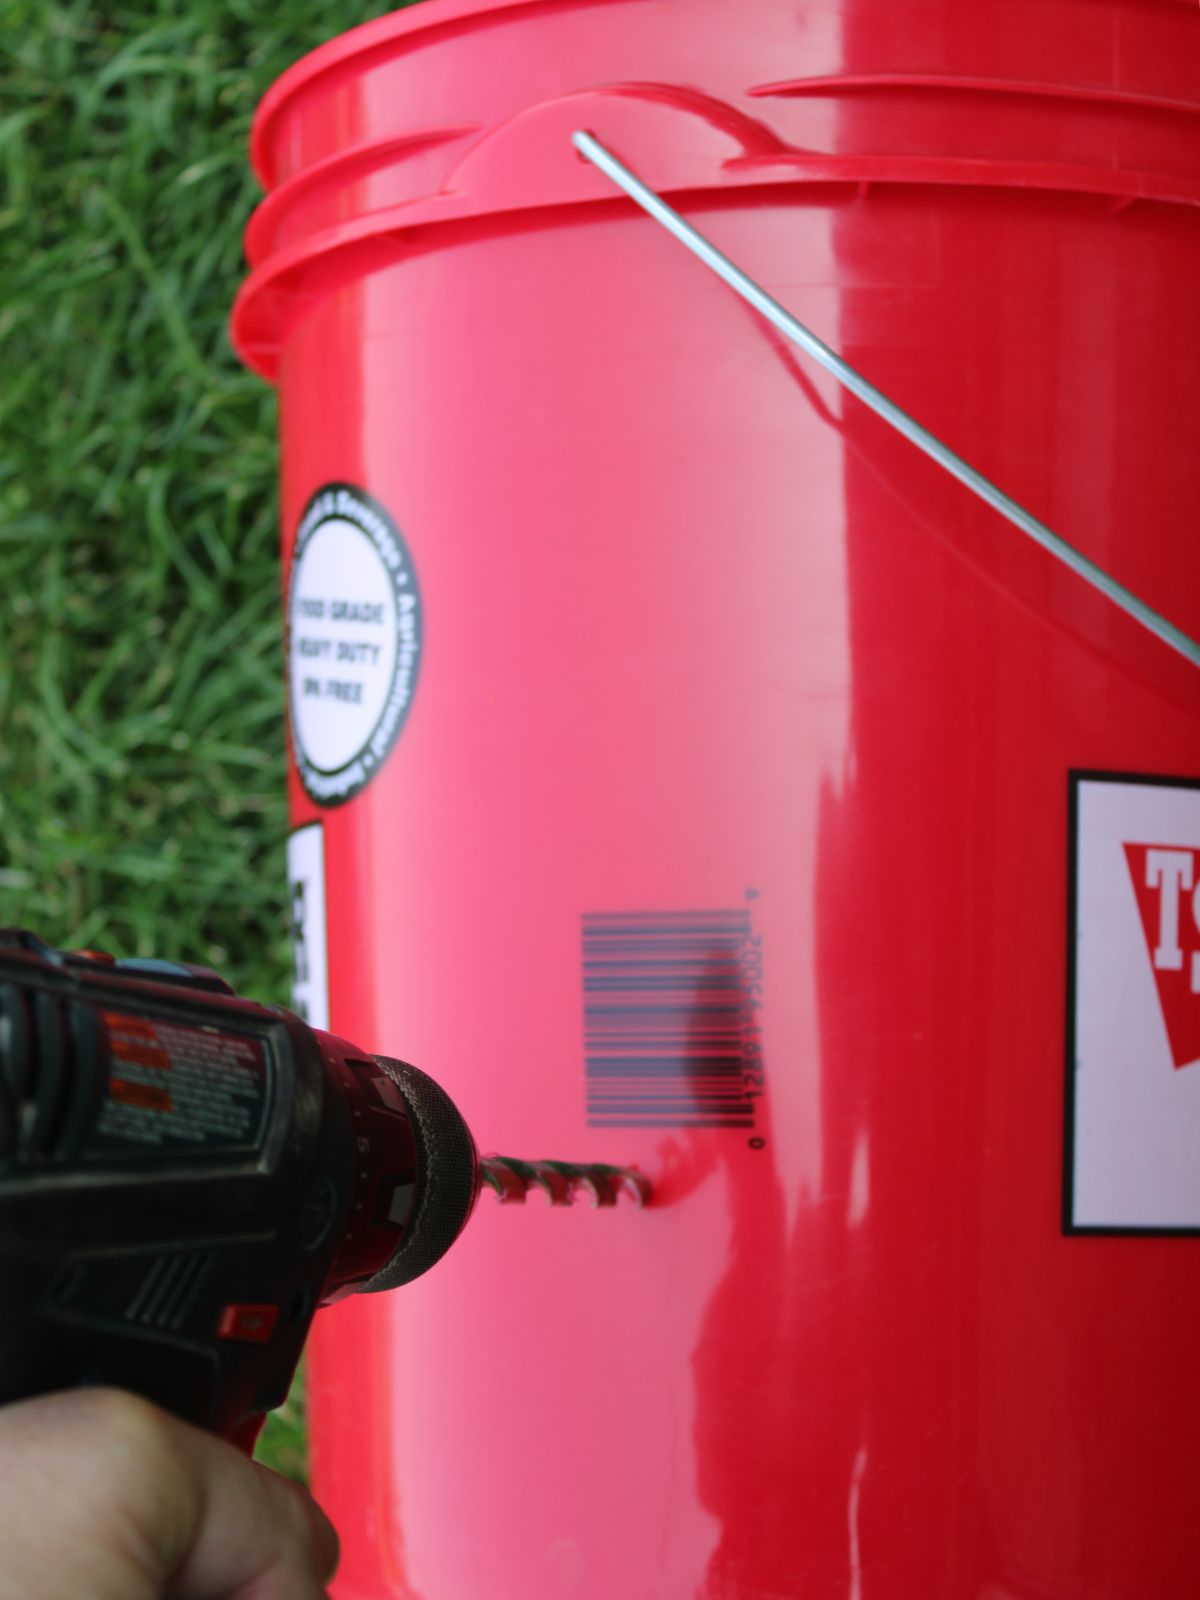
- 3/8″ Drill Bit – A 3/8″ drill bit is what size the hole needs to be drilled to hold the poultry watering cups snug and prevent them from leaking.
- Tape Measure – I used my tape measure to measure the distance from the bottom of the bucket, to where I wanted to drill my holes.
- Permanent Marker – I used my permanent marker to add a dot to the bucket where I needed to drill the hole.
- Algae Control (optional) – The one that I use is called Stock Tank Secret and it is a game changer in both our chicken waterers and our large animal stock tanks! It is completely safe for all animals and only contains barley straw and burlap. And best of all – IT WORKS!
- Cotton String (optional) – Recommended if are choosing to use an algae control pack – see the homesteading tip below.
- Long Needle (optional) – Needed if using the algae control pack to easily put the string through the pack.
A Tip from Aunt Niki: If you are planning on using the algae control pack that I highly recommend, you will want to drill a small hole towards the top of your bucket on the smooth part, just under where the lid goes. Grab your cotton string, a long needle, and the algae control pack. Feed the string through your needle, and then through the algae control pack. Make the string long enough to tie it inside of your water bucket.
A Tip from Aunt Niki: Make sure that the algae control pack hangs a little ways above the watering cups, or it may plug off the hole preventing your chickens from being able to get water.
A Tip from Aunt Niki: When you are finished with the algae pack (they recommend replacing it every two to three months), you can toss it into your compost pile.
How to Make a Chicken Bucket Waterer
1. Gather all of your supplies.
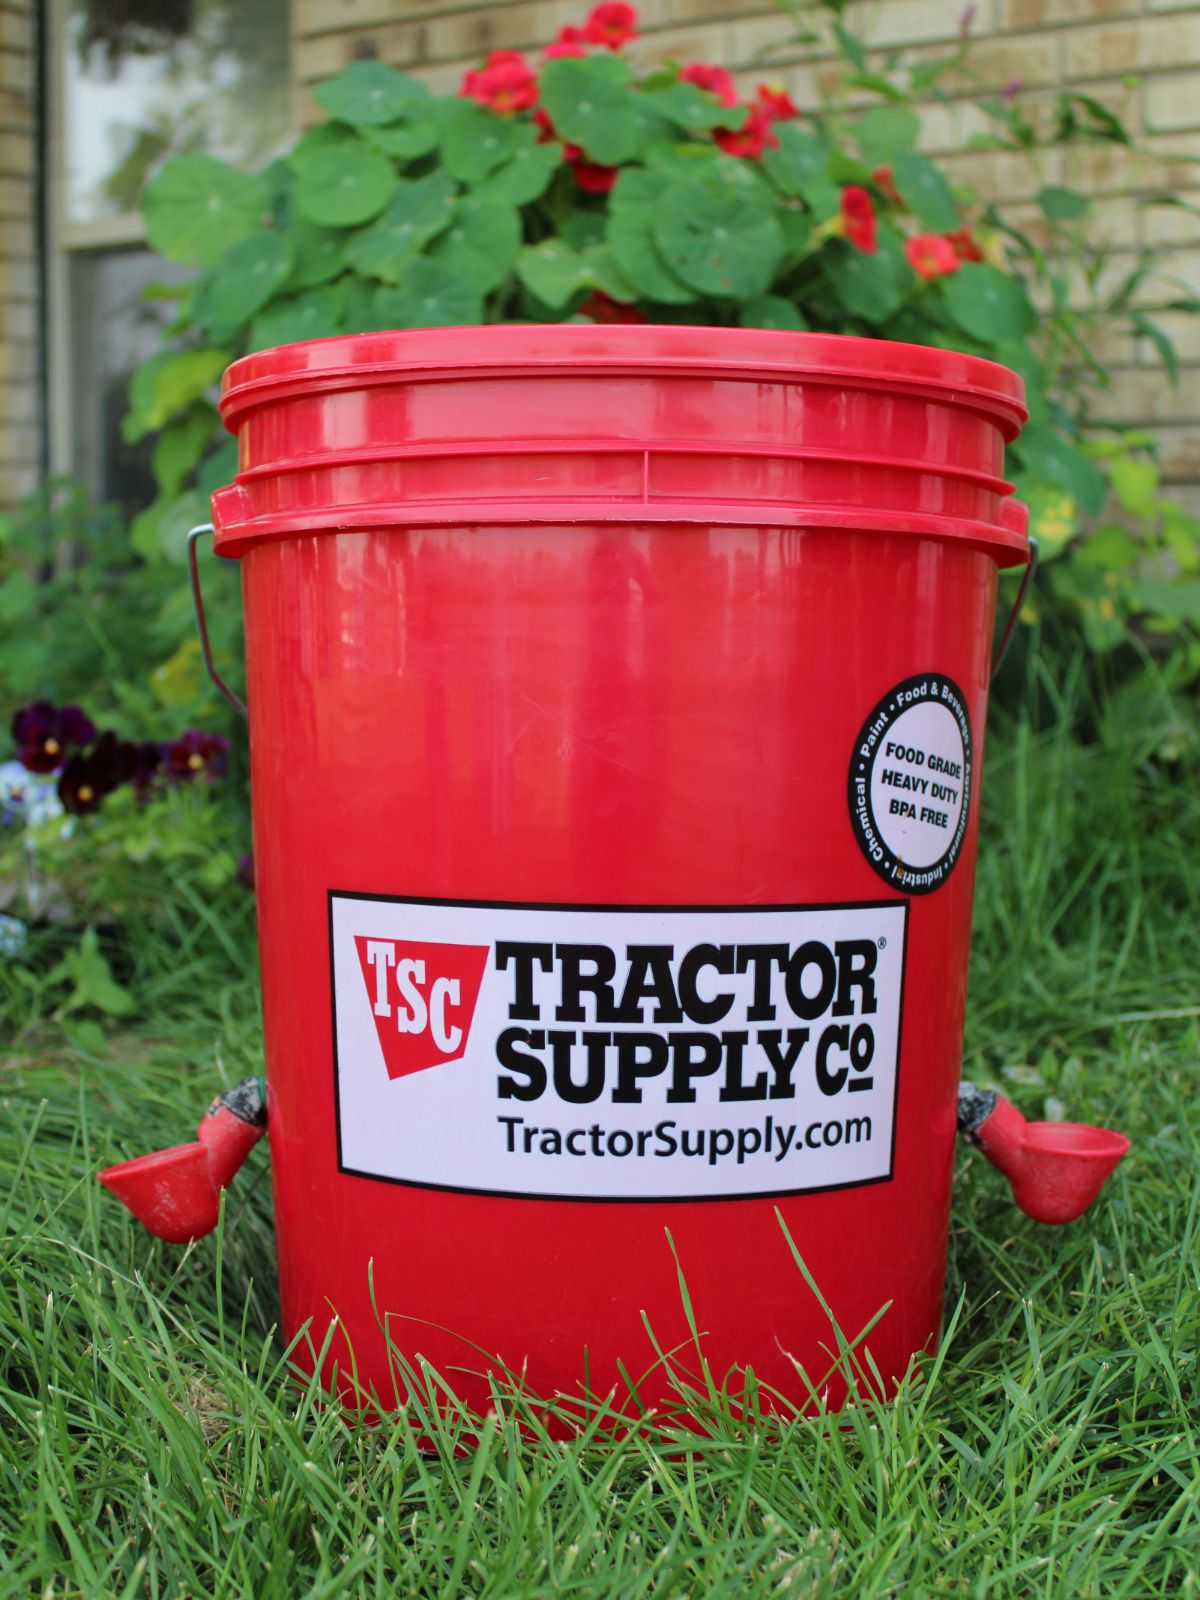
2. Grab your tape measure and measure 4 inches from the bottom directly underneath each side of the handle. Make a dot with your permanent marker where you’d like to drill your hole.
A Tip from Aunt Niki – Don’t drill the hole too low. Chickens love to scratch and will quickly plug the cups with debris preventing the water to fill and then the chickens won’t be able to get a drink.
3. Attach a 3/8″ drill bit to your drill. Drill holes where you made your marks.
4. Screw a watering cup to each hole. Make sure there is an O-ring between the cup and the outside of the bucket, or it will leak. Continue to screw until it is tight, and the cup is facing upwards.
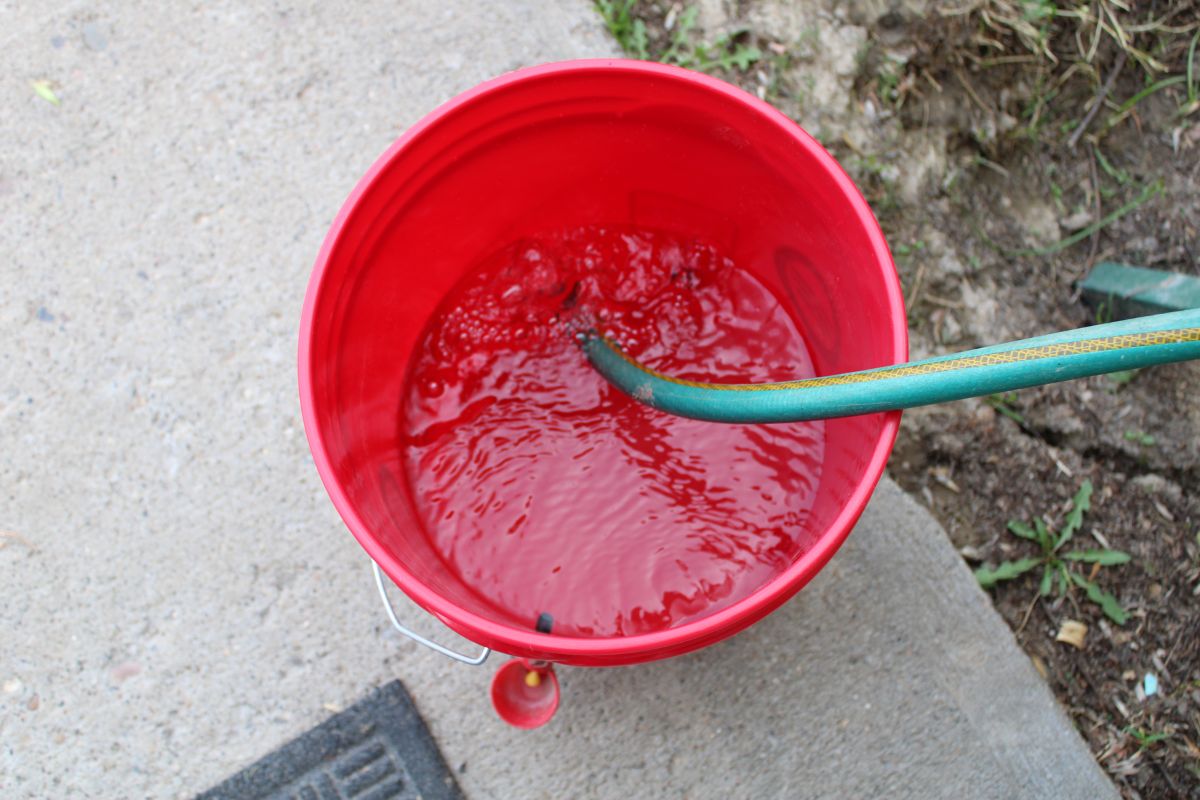
5. After installing the cups, fill the bucket up with water. Inspect around the cups for any leaks. If you see a leak, give the cup another turn or two to make sure that it is installed tightly. Continue until you don’t see any more leaks.
6. Test out the nipple. Hold it down to fill a cup with water. Again, look and make sure there are no leaks and everything is functioning correctly. Make sure the nipple doesn’t stick and drain out all of the water.
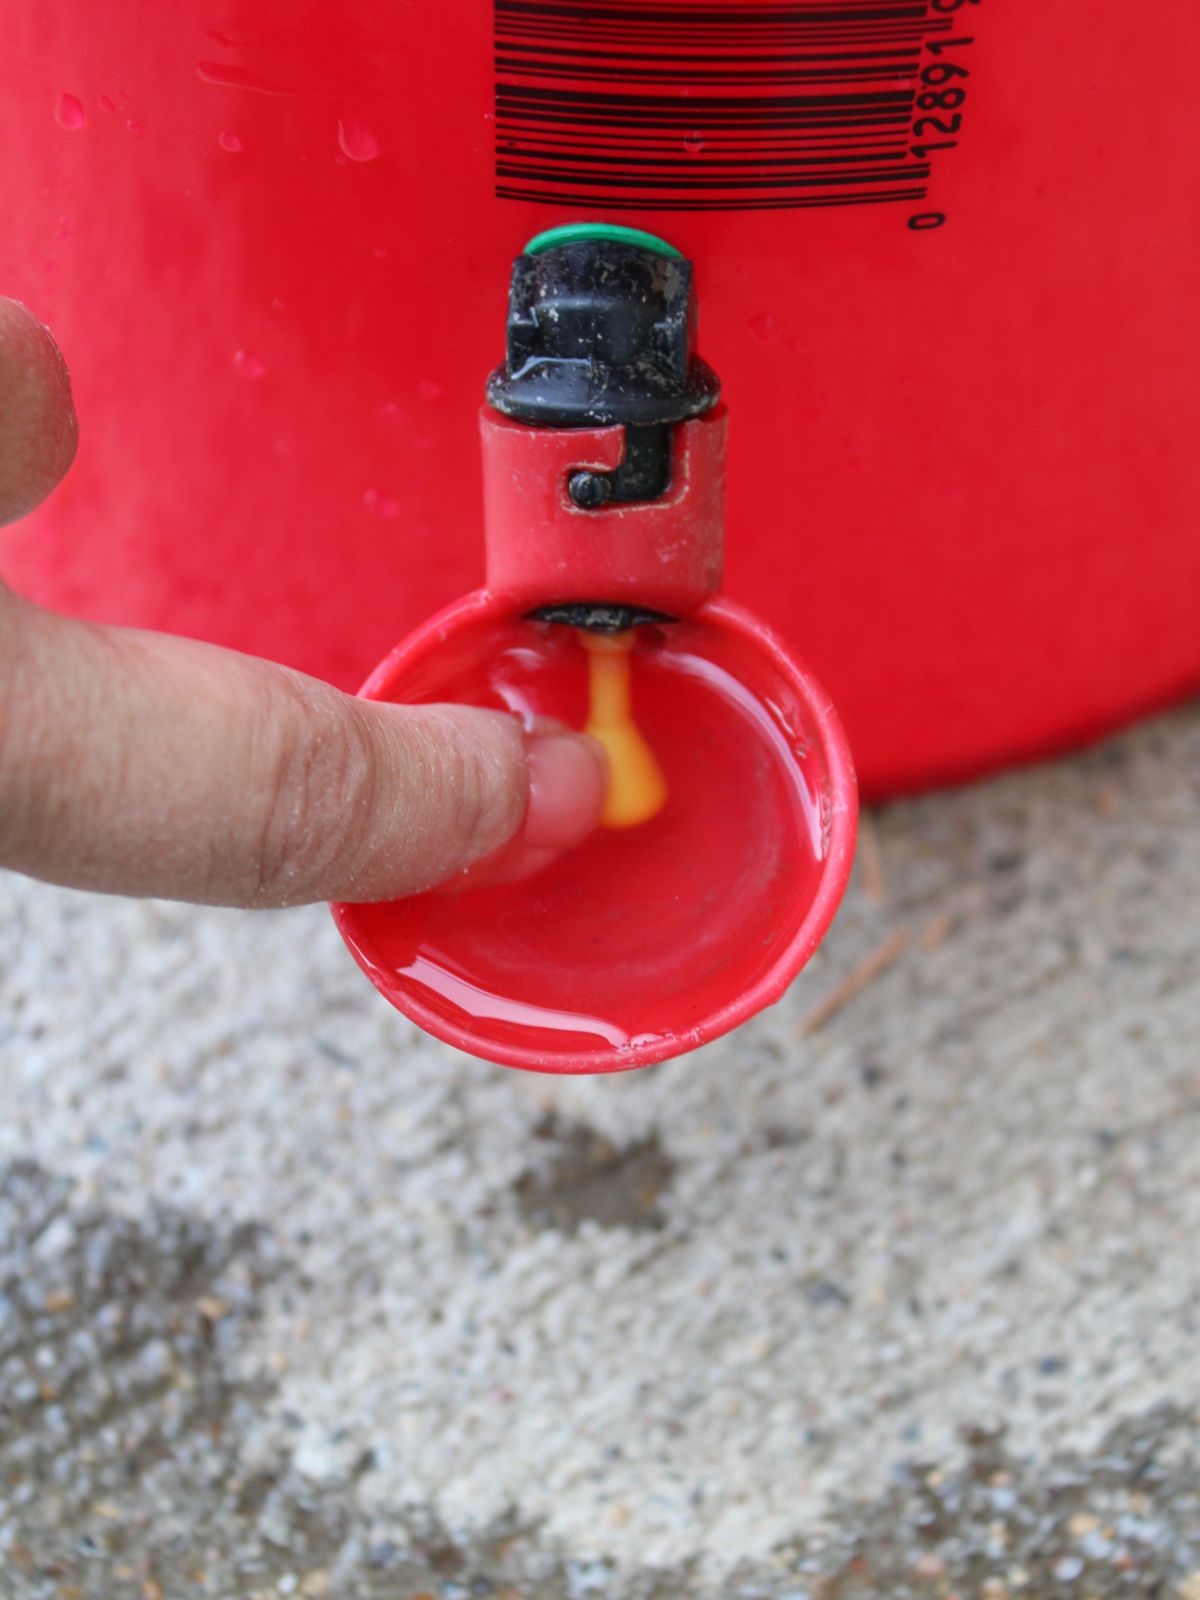
7. Put the bucket with your chickens. Young chickens pick up this way of drinking pretty quickly because they like to pick at everything. If you find that your older chickens are taking a while to figure it out, simply fill the cup with your finger a couple times a day. They will learn to drink out of it when they find it full of water, and by doing this they will bump the nipple as they drink, eventually getting water from the cup themselves.
A Tip from Aunt Niki – Always provide your previous watering system for the birds until you know they are all drinking. Chickens always watch the other birds and are always curious what they’re friends have, so once a couple birds learn to drink this way, the rest will soon follow.
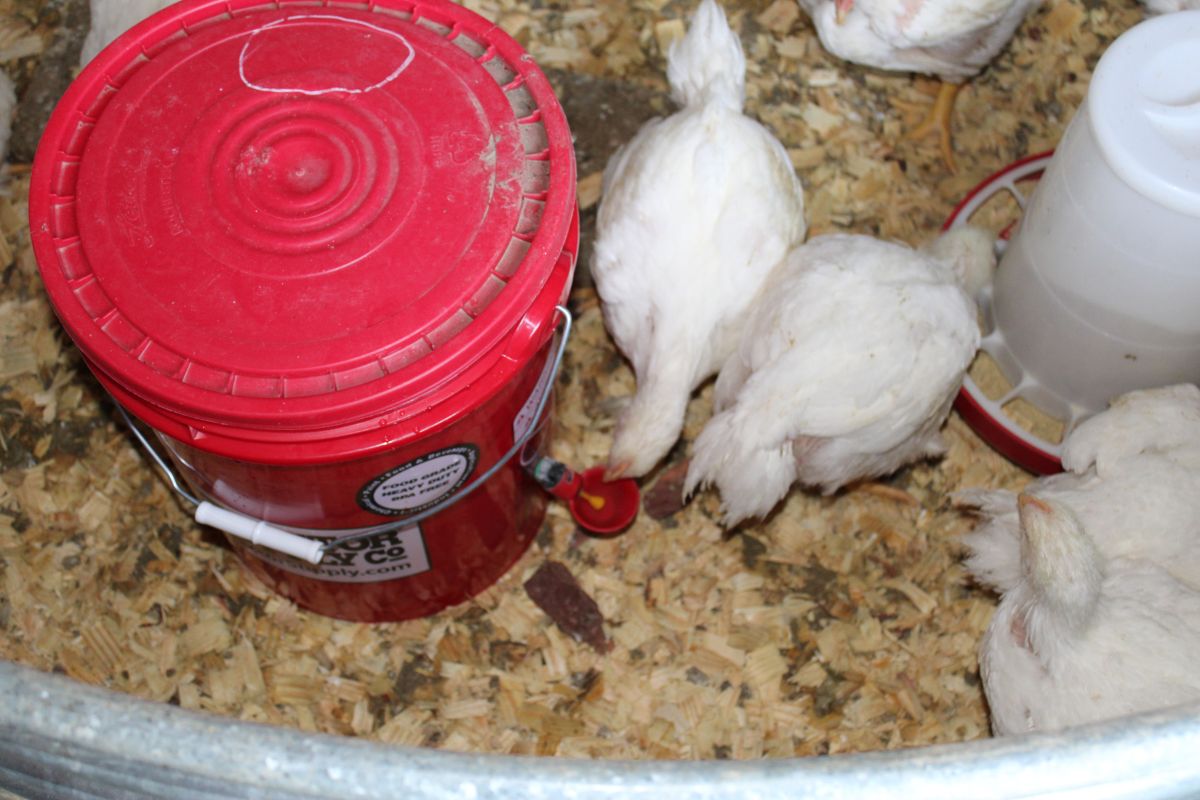
8. I made a mistake with my meat birds in this picture. They drank out of the watering cups well but scratched a bunch of woodchips into the cup so the water wouldn’t flow. I ended up putting a piece of wood underneath the bucket to solve this problem, and then they didn’t have woodchips right by it to scratch. You live and you learn!
A Tip from Aunt Niki – Either cut a small hole in the lid or only place the lid on and lock it down on two sides. The lid will push up when it heats up during the day and this allows some air to flow and helps with this problem.
Common Questions
Yes! Feel free to use four on a bucket. You can put one underneath the handle sides and center the other two front and back.
That depends, but I would say roughly 25 birds per bucket. My chickens are free range and will happily drink out of puddles during the day, but according to Tractor Supplies website where I purchased the watering cups, they suggest 12 birds per cup.
Yes, algae will start growing in your bucket. Simply remove the lid and swish your hand around in the bucket to scrub off the algae or use an algae control pack that we use in our cattle water tank that keeps it clear of algae and is completely natural and safe for all animals. Check the supplies section above for more information.
That depends on where you live. I live where winter temperatures are around for many months, so I put the bucket waterers away for the winter before they freeze solid and get them back out in the spring.
I would suggest finding places that are shaded for most of the day. This will help prevent algae growth and keep the water cooler for your birds to drink.
More Posts You Might Enjoy
The Best Homemade Chicken Bone Broth In The Instant Pot

DIY Chicken Bucket Waterer
Learn how to make a chicken waterer in under 20 minutes. This project is very affordable and is easy to complete at any skill level.
Materials
- 5-gallon bucket
- bucket lid
- 2 poultry watering cups
- drill
- 3/8" drill bit
- tape measure
- permanent marker
- algae control pack
- cotton string
- needle
Instructions
1. Gather all of your supplies.
2. Grab your tape measure and measure 4 inches from the bottom directly underneath each side of the handle. Make a dot with your permanent marker where you’d like to drill your hole.
A Tip from Aunt Niki – Don’t drill the hole too low. Chickens love to scratch and will quickly plug the cups with debris preventing the water to fill and then the chickens won’t be able to get a drink.
3. Attach a 3/8″ drill bit to your drill. Drill holes where you made your marks.
4. Screw a watering cup to each hole. Make sure there is an O-ring between the cup and the bucket, or it will leak. Continue to screw until it is tight, and the cup is facing upwards.
5. After installing the cups, fill the bucket up with water. Inspect around the cups for any leaks. If you see a leak, give the cup another turn or two to make sure that it is installed tightly. Continue until you don’t see any more leaks.
6. Test out the nipple. Hold it down to fill a cup with water. Again, look and make sure there are no leaks and everything is functioning correctly. Make sure the nipple doesn’t stick and drain out all of the water.
7. Put the bucket with your chickens. Young chickens pick up this way of drinking pretty quickly because they like to pick at everything. If you find that your older chickens are taking a while to figure it out, simply fill the cup with your finger a couple times a day. They will learn to drink out of it when they find it full of water, and by doing this they will bump the nipple as they drink, eventually getting water from the cup themselves.
Note: I made a mistake with my meat birds. They drank out of the watering cups well but scratched a bunch of woodchips into the cup so the water wouldn’t flow. I ended up putting a piece of wood underneath the bucket to solve this problem, and then they didn’t have woodchips right by it to scratch. You live and you learn!
Tips from Aunt Niki – Always provide your previous watering system for the birds until you know they are all drinking. Chickens always watch the other birds and are always curious what they have, so once a couple birds learn to drink this way, the rest will soon follow.
-Either cut a small hole in the lid or only place the lid on and lock it down on two sides. The lid will push up when it heats up during the day and this allows some air to flow and helps with this problem.
-If you are planning on using the algae control pack that I highly recommend, you will want to drill a small hole towards the top of your bucket on the smooth part, just under where the lid goes. Grab your cotton string, a long needle, and the algae control pack. Feed the string through your needle, and then through the algae control pack. Make the string long enough to tie it inside of your water bucket.
-Make sure that the algae control pack hangs a little ways above the watering cups, or it may plug off the hole preventing your chickens from being able to get water.
-When you are finished with the algae pack (they recommend replacing it every two to three months), you can toss it into your compost pile.
Notes
Common Questions
Can I use more than two poultry watering cups on a bucket?
Yes! Feel free to use four on a bucket. You can put one underneath the handle sides and center the other two front and back.
How many chickens can I water per 5-gallon bucket?
That depends, but I would say roughly 25 birds per bucket. My chickens are free range and will happily drink out of puddles during the day, but according to Tractor Supplies website where I purchased the watering cups, they suggest 12 birds per cup.
Do I need to wash the bucket?
Yes, algae will start growing in your bucket. Simply remove the lid and swish your hand around in the bucket to scrub off the algae or use an algae control pack.
Can I use these in the wintertime?
That depends on where you live. I live where winter temperatures are around for many months, so I put the bucket waterers away for the winter before they freeze solid and get them back out in the spring.
Where is a good place to put a bucket waterer?
I would suggest finding places that are shaded for most of the day. This will help prevent algae growth and keep the water cooler for your birds to drink.
Recommended Products
As an Amazon Associate and member of other affiliate programs, I earn from qualifying purchases.
Pin It For Later

More Ideas

How to Freeze Dry Pancake Batter

How to Freeze Dry Eggs

How to Freeze Dry Tomatoes

Homemade Blueberry Jam with Honey

How to Freeze Dry Strawberries

Easy Homemade Baking Powder

How to Freeze Peppers

The Easiest Way To Cut Bell Peppers
I am not a lawyer, health professional, or a doctor. All information on this website, social media, and emails is based on personal experience and research. It is not meant to be taken as legal or medical advice.
We are a participant in the Amazon Services LLC Associates Program, an affiliate advertising program designed to provide a means for us to earn fees by linking to Amazon.com and affiliated sites.
Thank you for using the links provided and supporting my blog and small business at no additional costs to you.
Leave a Reply